Configure WebAdmin
The Web Admin provides a simple GUI for certain basic configuration tasks and monitoring. Enabling it also allows API access, which is required for all other advanced configuration tasks and even ad-hoc conference bridging with Unified CM. Web admin should be enabled on all of the CMS servers.
|
Enable Web Admin Service
| Cisco Meeting Server Name | Password |
|---|---|
| cms1a.pod7.cms.lab | c1sco123 |
First, assign the certificates to be used for this service. Start with server cms1a.pod7.cms.lab.
Next, assign the listening interface and TCP port number. You must be careful when choosing the port because the Web Bridge service that you will enable later to support WebRTC traffic is also a web server, like the Web Admin service. Generally you want to have end-users reach the Web Bridge service using a well-known port number (443), so you will intentionally use a non-default port (8443) for the Web Admin service so that you can use port 443 for Web Bridge later in the lab. This is a recommended best practice.
Restart the Web Admin service for the changes to take effect. The certificates are verified and the service started.
You can use the command to check the status of the service at any time.
The other two CMS servers, CMS1b & CMS1c already have this configured.
Test Web Admin Service
You should now be able to use a web browser to access your CMS server admin interfaces. As mentioned earlier, there are some parameters for which you must browse to each CMS server individually, so even though we have created a DNS record (cms1.pod1.cms.lab) that includes all three of the CMS servers, it is best to explicitly connect to a particular server so you know which server you are configuring. Follow these steps to validate that the Web Admin service is working correctly.
- Browse to https://cms1a.pod7.cms.lab:8443
- You should see a login screen like this:
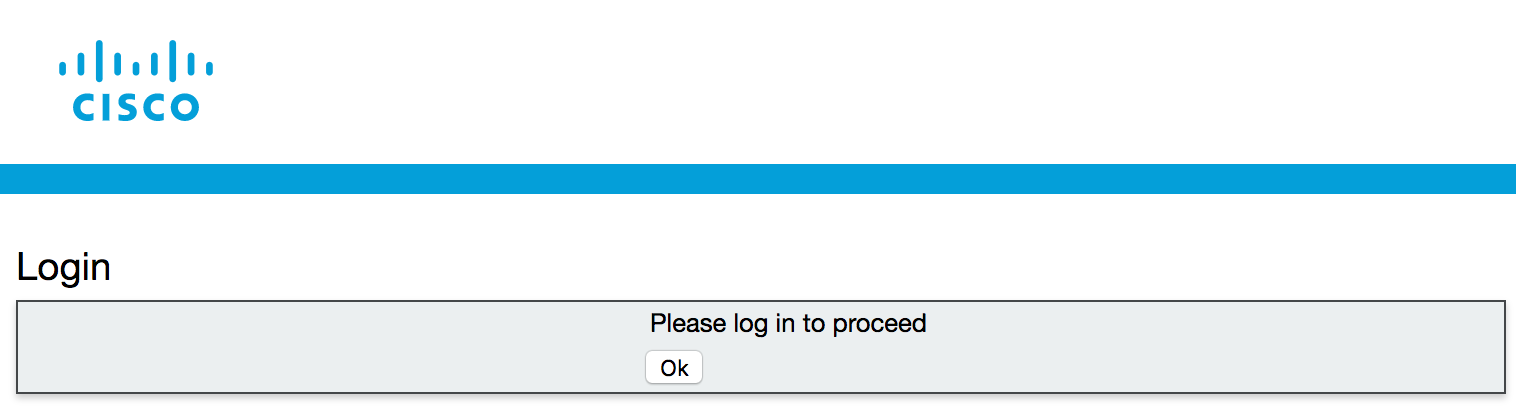
- Press Ok to get the username / password prompt.
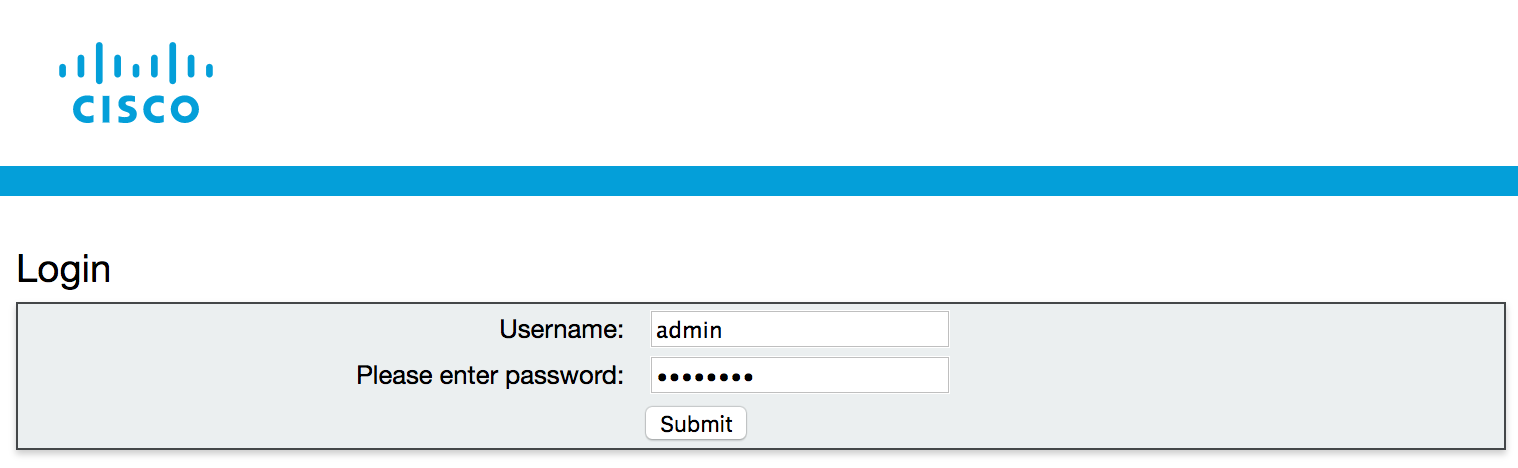
- Then enter the credentials
(Username: admin,
Password: c1sco123)
and press Submit.
- You should see a reminder that the CMS server is currently unlicensed. You will upload licenses in the next
section.
- After pressing Ok, you should see the Overview screen, which shows basic system information
and fault conditions.
You can repeat this on all CMS servers if you like, just to make sure the web admin service is running properly. Feel free to connect to CMS 1B at https://cms1b.pod7.cms.lab:8443 and CMS 1C at https://cms1c.pod7.cms.lab:8443.